
so you are sitting in your living room, it’s still quarantine and you’re watching Netflix for the 5th straight hour of the day. You look down and see your nails DESPERATELY need some love… but nail shops are a thing of the past. WHAT TO DO?! This happened to me, and I really wanted to work on my self care. When I lived in China, I loved getting my nails done every month. It was cheap and they gave me the perfect amount of “bling bling” I wanted. Since coming back to The States, I found nails are far to expensive and more intricate nails seem to be a hassle for the salons close to me to do… so why not do it myself?
So I took to Amazon for all the supplies. I bought a poly gel kit (most important! It’s around $30 and comes with everything), some BLING (diamond studs and fun studs for nail art) and a UV lamp (I just bought the cheapest I could find around $30).
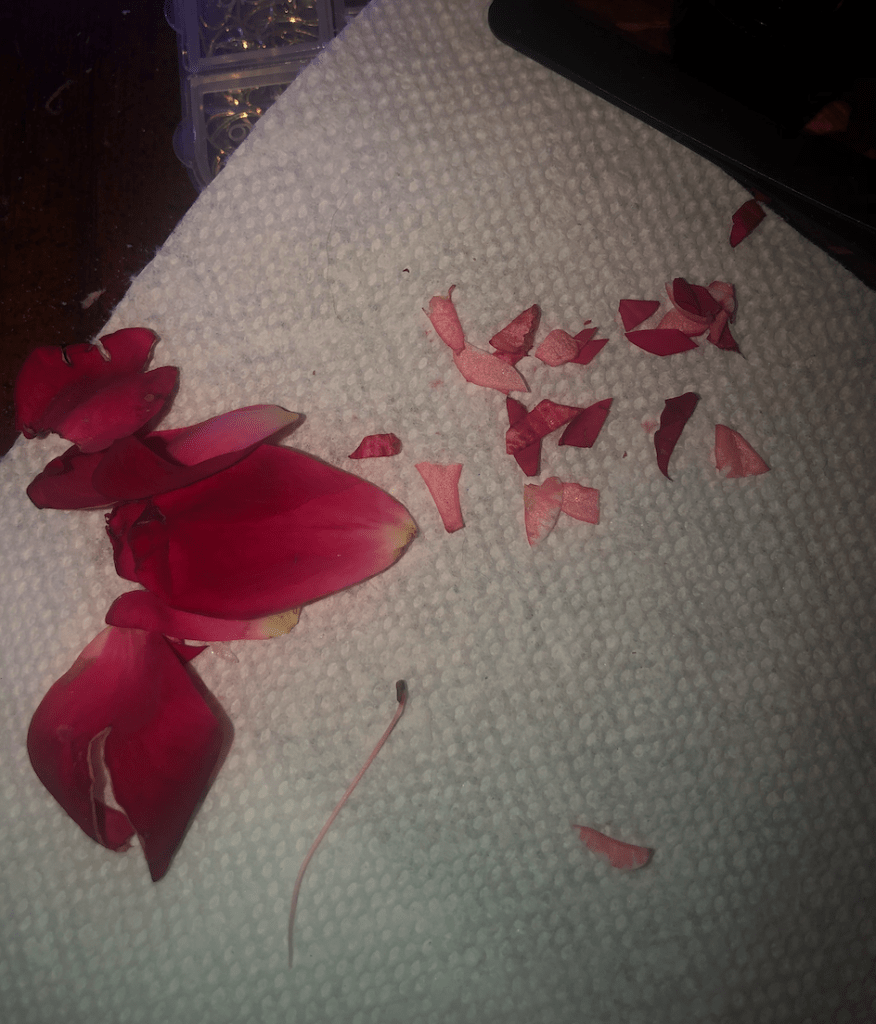
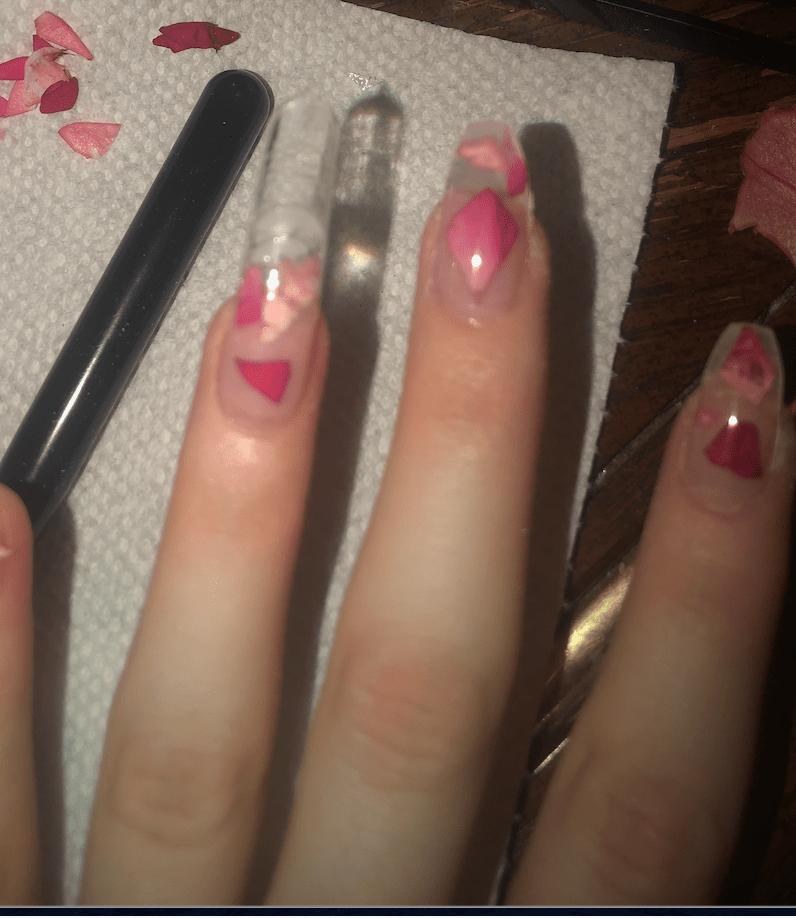
I found a cool idea to put dried flowers inside the gel, so I stole some of my sisters roses and cut them to fit the nail. It doesn’t quite look like petals or flowers, but it turned out to be a very cute look for spring time!
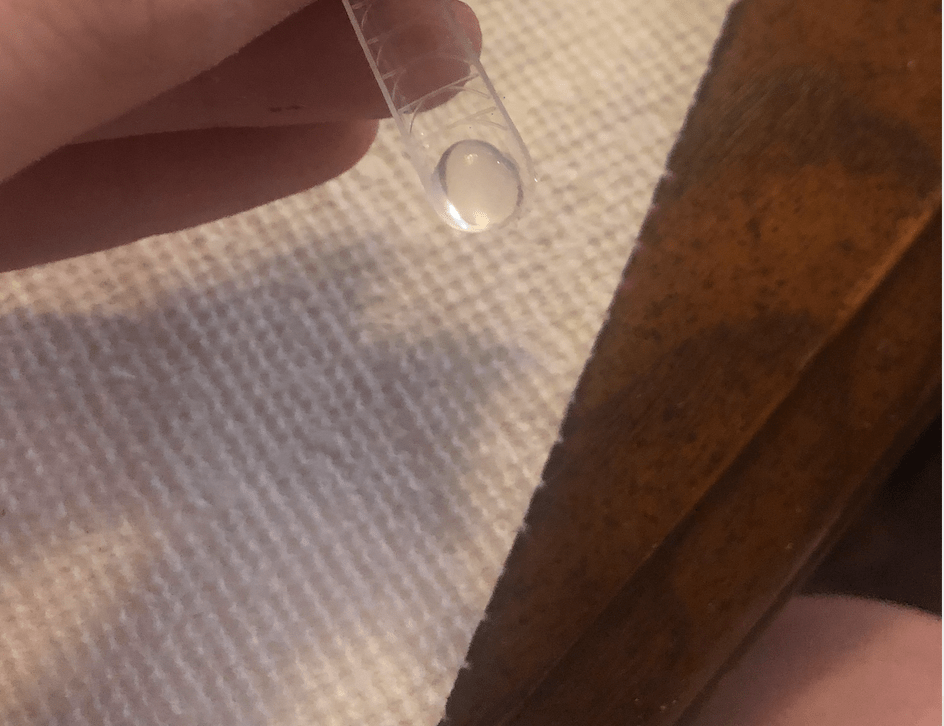
Next you need to add poly gel to the acrylic nail mold that comes with the kit. You must use rubbing alcohol with a small brush to spread the gel to the length and thickness you desire.
NOTE: clear is hard to see the thickness, but this is my second time using poly gel so I wasn’t a total newbie.
once the gel is spread add the petals! (or glitter or gold flakes or WHATEVER your little heart desires.. it’s all for fun after all!)
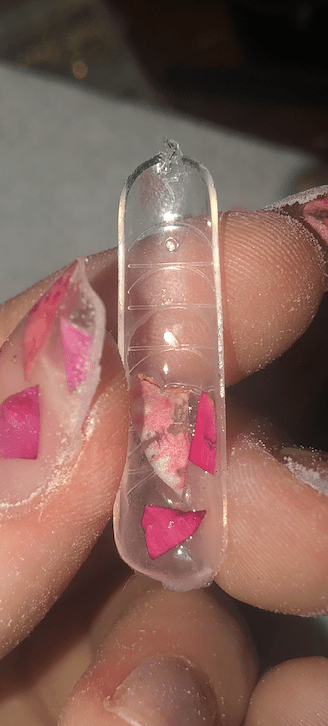
once the mold is complete, gently place it and press on the proper finger!
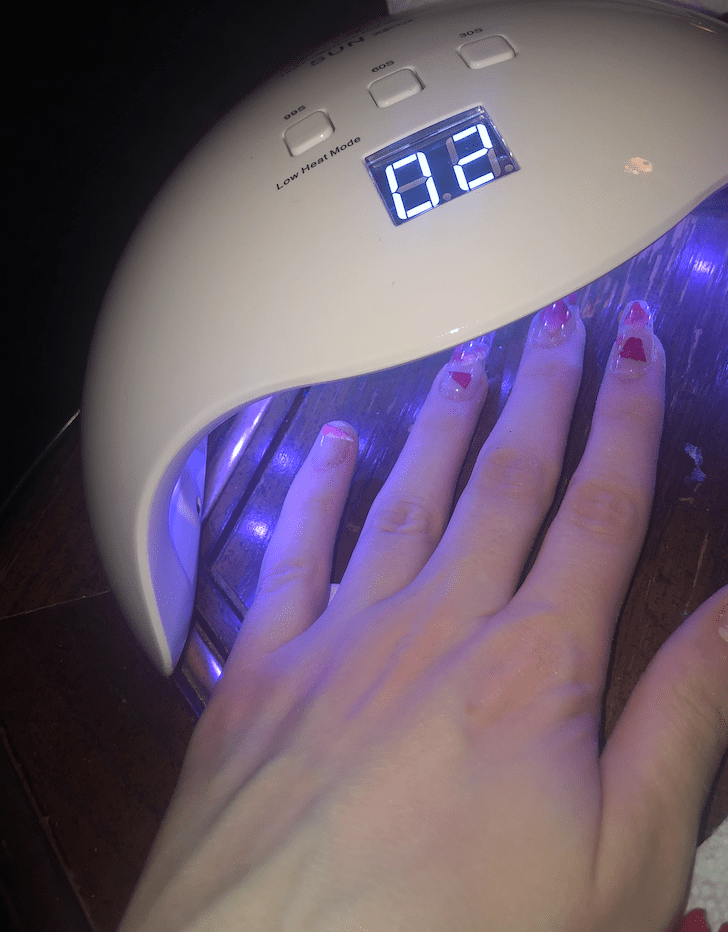
once that little baby is sitting on your nail, pop that little sucker under the lap! It drys pretty quickly under the lamp, and you can kind of feel it getting hard. All you need is 60-90 seconds until its ready. Once the gel is hard, all you have to do is pop the plastic nail mold off. It comes off very easily.
Once you work hard and finish ALL of your fingers…. you’re done! All there is left to do is shape the nails to your desire. I always switch between almond shape and coffin shape. Since my last nail was rounded I decided to have something in the square family.
NOTE: almond shape is way easier and if you follow the rounded lines from the nail molds its almost the perfect shape already!

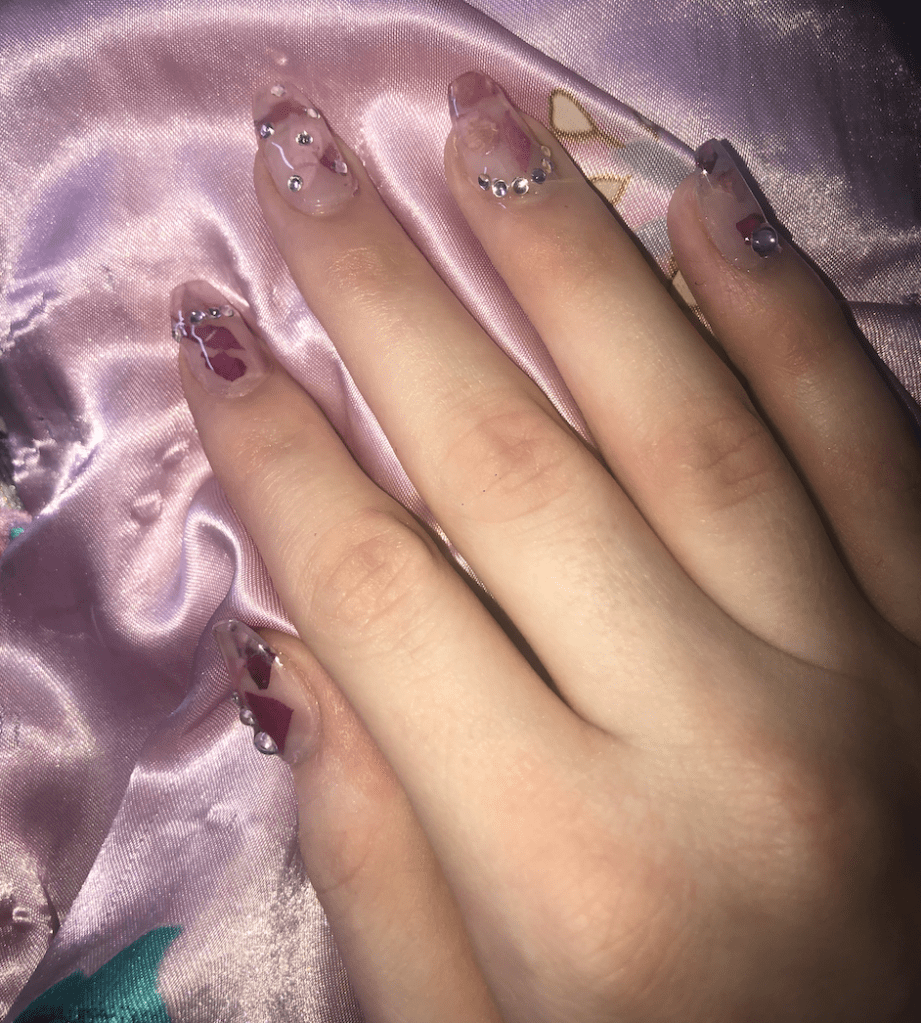
There ya go! Now I’m totally someone who’s extra and loves diamonds… so all there is left to do is add some sparkle. These are totally fine to keep too, so if you’re more of a simple girl then you’re done! Just add the top coat, use the UV lamp for about 90 seconds and wash your hands of any residue.
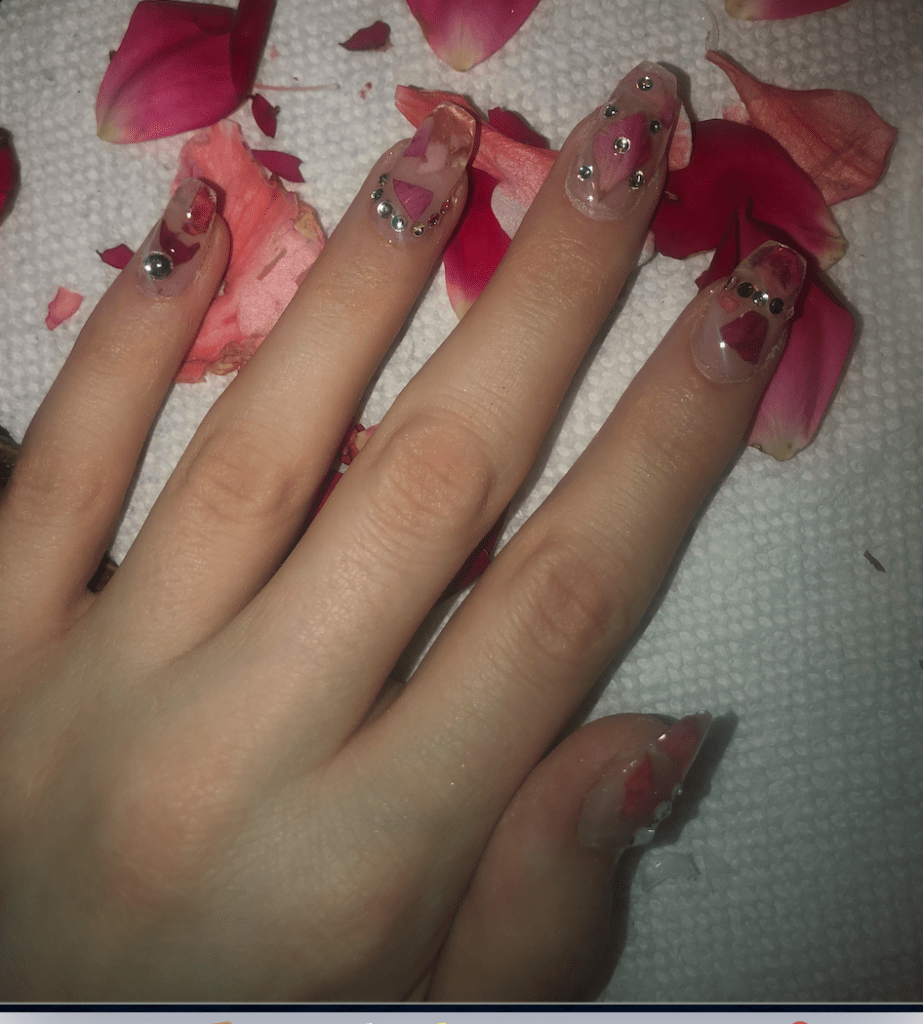
BLING BLING here you go! Now all there is left to do is find places to put your hand and take pics.. I decided to utilize the various flower petals I had left…
Hope you enjoyed and learned something! I would love to see your own designs!
